Dr. Marion Ellis was a faculty member of the Entomology Department at the University of Nebraska Lincoln for 20 years, and an instructor for 14 years. Between teaching a beekeeping class and other outreach, he also researched problems affecting honey bee health including honey bee diseases, parasites, pests, and chemical injury. He designed an always-in mouseguard that he would install on the research hives for UNL, we refer to it as the “Marion Mouseguard”.
Below are the instructions on how to build this simple mouse-guard for your hives. This modification will save you the time of inserting and removing a mouse-guard (or forgetting to) every spring and fall. The Marion Mouse-guard also reduces draft from the entrance of the hive and can therefore reduce chilling in the front of the hive.
Materials
- Plywood (3/8th inch thickness)
- Hammer
- 1 1/4 inch long nails
- Table saw (for “rip-cuts” that divides or cuts wood parallel to the grain)
- Miter Saw (for “crosscuts” that divides or cuts wood perpendicular to the grain)
Methods
- Rip-cut plywood board into strips that are 2-2 ½ inches wide (any thinner and splitting is an issue)
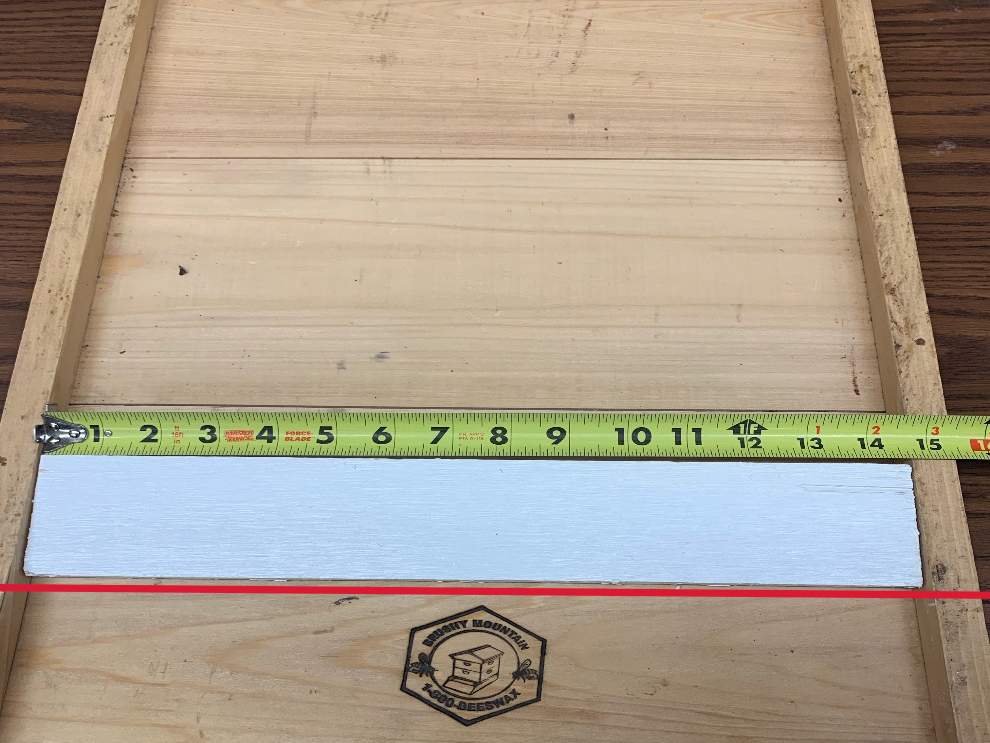
- Crosscut the strips into sections that are approximately 14 5/8th to 15 inches long* *your length will vary by how wide your bottom board is. Mark out where your hive body will sit so you know where to nail.
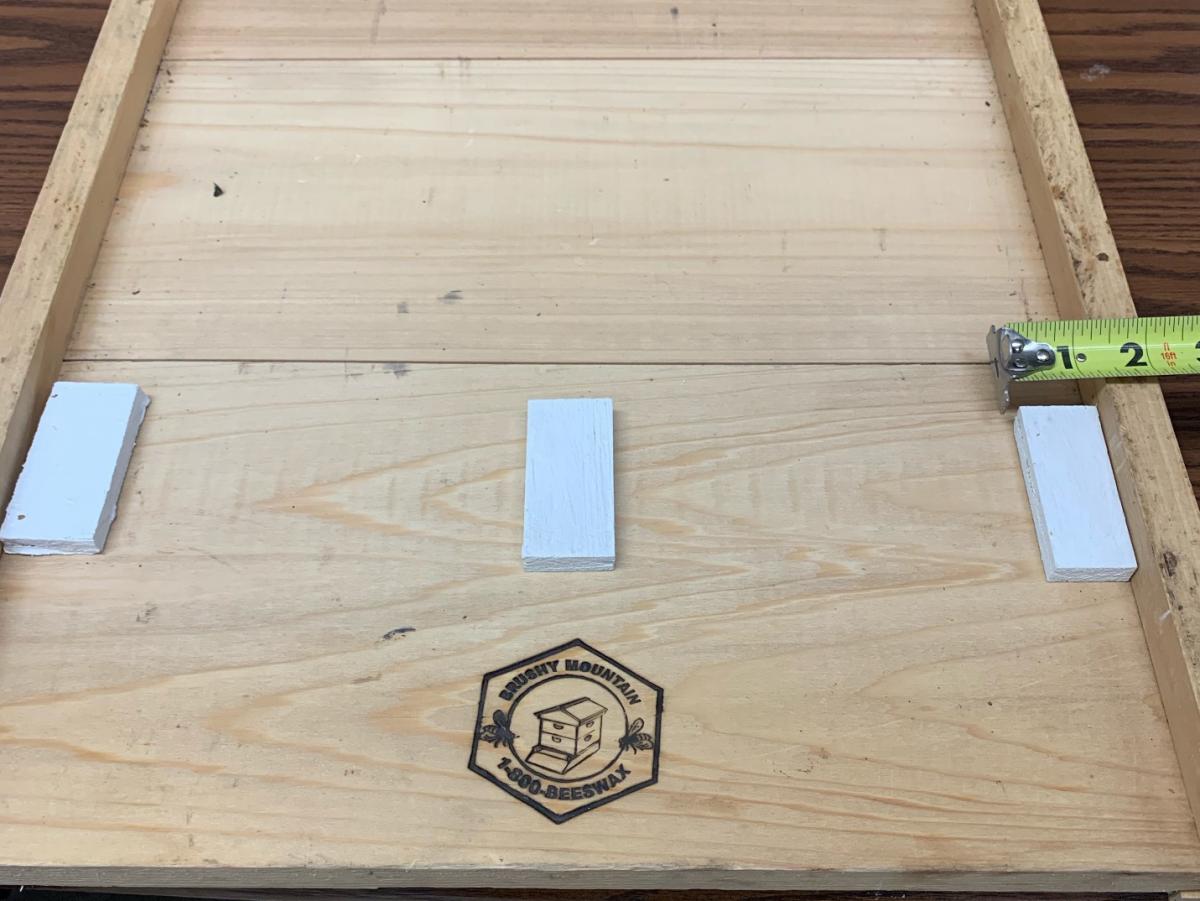
- Crosscut 3 spacers for every mouse-guard that are 1 inch by 2 ½ inches (So they fit flush underneath the top of the guard) Last revision April 2019
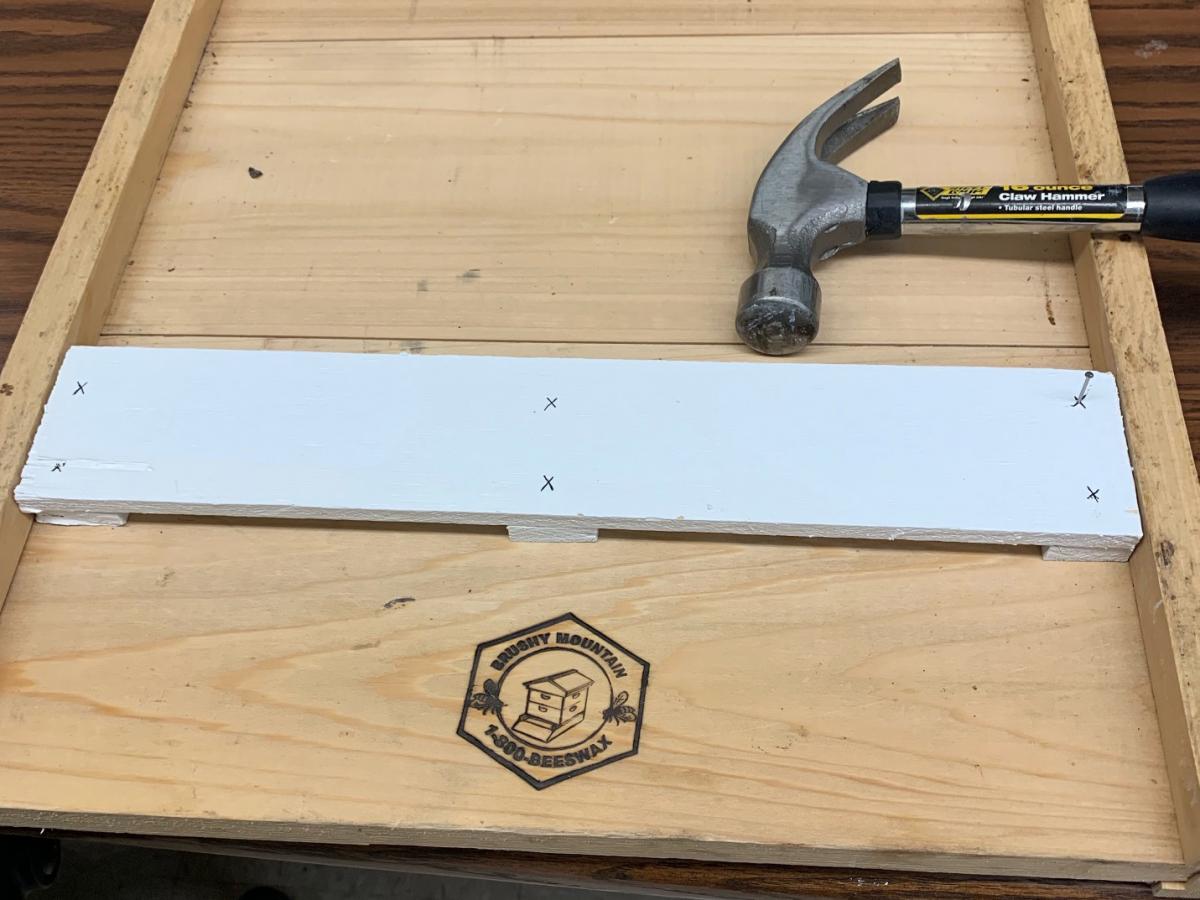
- Nail the long section on top of the spacers to create a shortened entrance to keep out mice but let bees in through the gap. We use six 1 1/4inch nails because this mouseguard will be propolised (covered in propolis) by the bees so it must be sturdy.
- Make sure you space your mouse-guard back far enough before nailing to be flush with the bottom hive box. This example was approximately 2 inches from the front of the bottom board.
Note: you can paint the mouse-guard before or after installation, but painting before installation will ensure no moisture can penetrate the bottom of the guard. We also recommend painting your bottom board before installing the Marion Mouse-guard as well (ours remained un-painted in the demo to more easily see the process).